If you saw my DynamicsCon March 2021 session about D365 integrations using Logic Apps, thank you! If you didn't, you can see it below on YouTube. If you didn't see the session, and don't want to watch the YouTube video, that's cool too. This post can still guide you through your first Logic Apps app with D365.
The session was largely based off of a post I made earlier, GET and POST Stuff via Logic Apps. Here, I'll go into more detail on what I covered in the session, the aforementioned post, and recommend further reading.
First thing you need is to get connected, and to get connected you need to register an Azure Portal App, and then to register the external application in D365. Peter Ramer wrote the best walkthrough, with screenshots, to do this in his blog post here.
With registration out of the way, we can follow the session agenda:
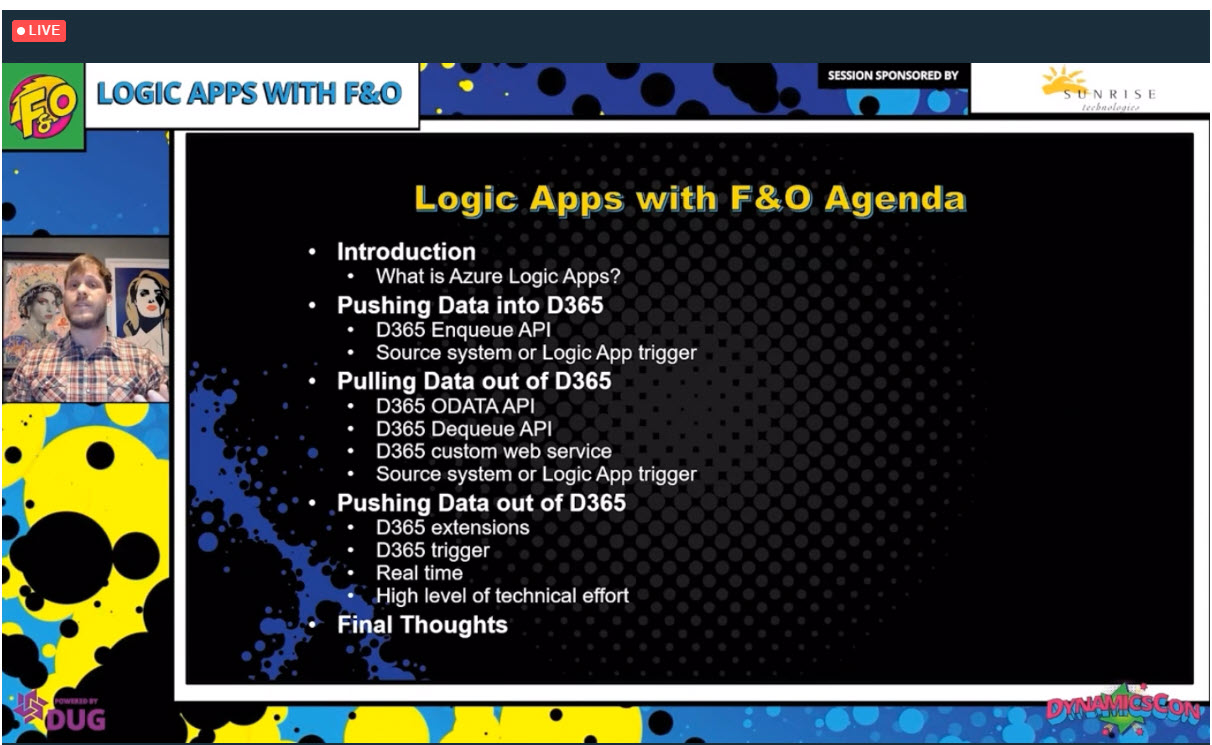
Introduction
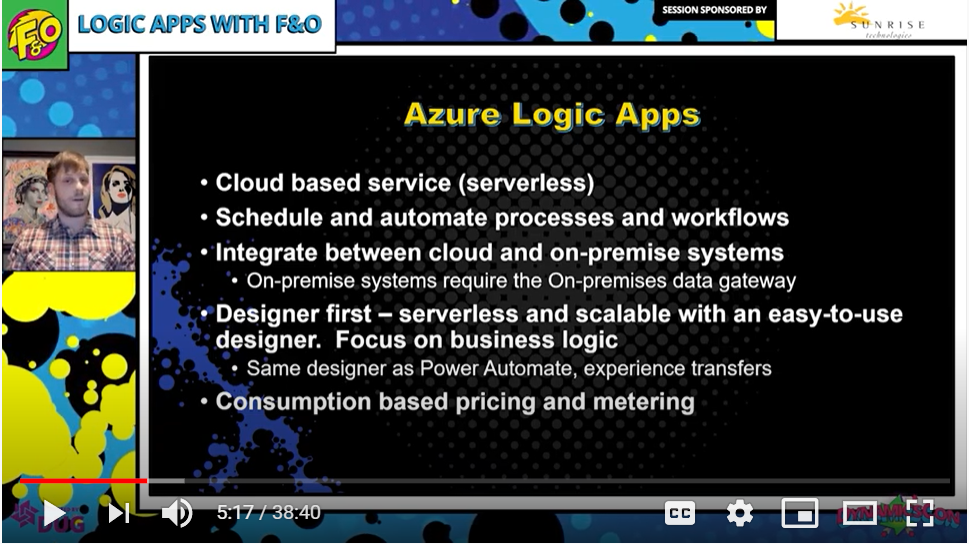
What is Azure Logic Apps? Azure Logic Apps is a cloud service that helps you schedule, automate, and orchestrate tasks, business processes, and workflows when you need to integrate apps, data, systems, and services across enterprises or organizations.
Pushing Data into D365
Enqueue API
Sending an HTTP POST to D365's Enqueue API is by far my favorite way to send data to D365. One of the reasons is because the API isn't throttled. The other reasons are that I believe [1] D365 is the heart/center of the ecosystem, [2] integrations must be tangible and transparent, and [3] integrations must scale.
Using the Enqueue API makes integrations as transparent as possible. All files, good or bad, will be visible in D365. The staging data is also visible, and everything is timestamped.
The Enqueue API has the best scope and scale. It can handle anything a data project can, which means composite entities and XSLT transformations are in play. I'd rather get the file safely to D365 as quickly as possible, and do all my transformations and processing in D365. Also, once the file is received, you can do bulk processing by either overriding the copyCustomStagingToTarget method (another good way to transform data) or assign threads under Data management > Framework parameters > Entity settings. Moving the message processing to D365 prevents timeout and transactional scope headaches.
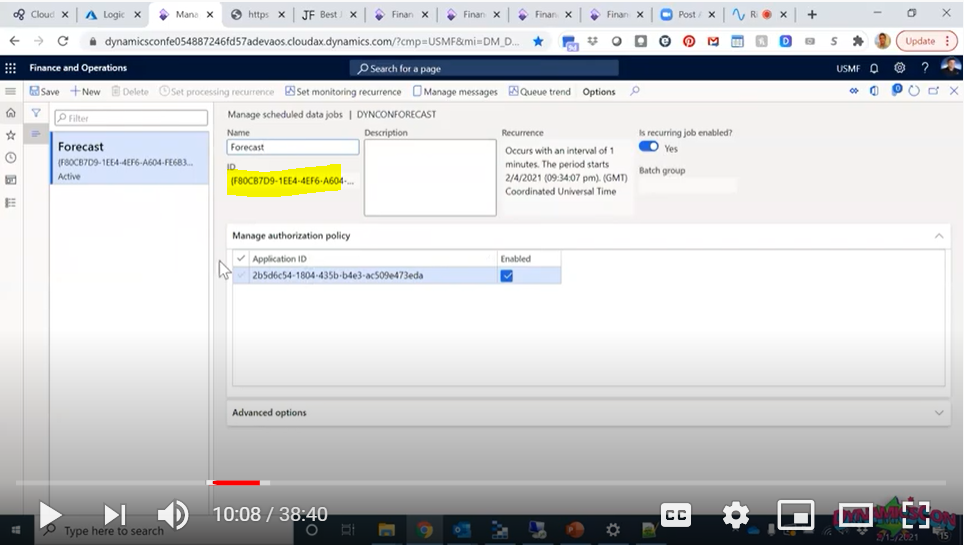
In the video, I push a simple, but large, 100,000 record demand forecast file. The main takeaway is how to authenticate and POST:

The URI GUID comes from the recurring data job that you create in D365. The Application Id in the job must match the Application Id in the Logic App's Authentication section.
Message Status API
Integrations don't need to be catapults. Any successful POST to the Enqueue API will return a successful 200 message, whether the data gets to its final destination table or not. The message status in D365 can be tracked by calling the Message Status API.
The Message Status API is very straight forward to call. The URI is the same for all messages and entities in an instance: add /data/DataManagementDefinitionGroups/Microsoft.Dynamics.DataEntities.GetMessageStatus to the end of your environment URL. Then, all you need to do is pass the Message Id (GUID) that was returned from your POST enqueue:
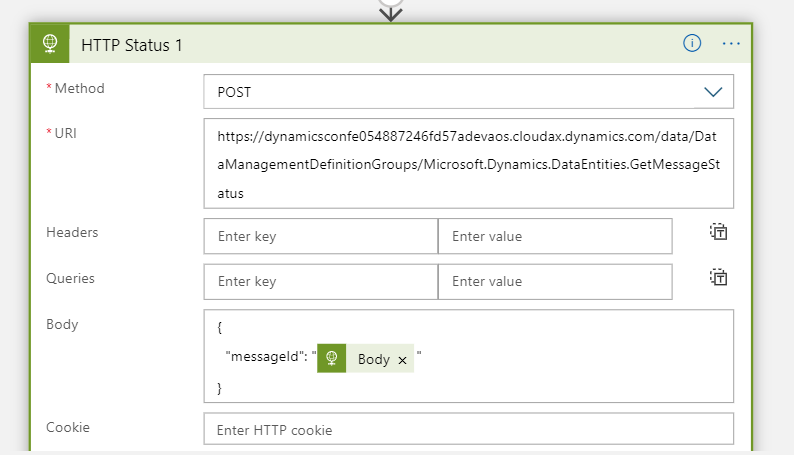
Here is a list of all the statuses that can be returned:
| Value | Meaning |
|---|---|
| Enqueued | The file has been successfully enqueued to blob storage |
| Dequeued | The file has been successfully dequeued from blob storage |
| Acked | The exported file has been acknowledged to be downloaded by the external application |
| Preprocessing | The import/export operation is pre-processing the request |
| Processing | The import/export operation is in process |
| Processed | The import/export operation completed successfully |
| PreProcessingError | The import/export operation failed in the pre-processing stage |
| ProcessedWithErrors | The import/export operation completed with errors |
| PostProcessingFailed | the import/export operation failed during post-processing |
Download message from enqueue API within D365
Taking the enqueue API a step farther, you can do an extension to download files that are pushed to D365 from Data Management. Here's a tweet that shows what it looks like, with a link to an old blog post with the code to download files:
DMFExecutionHistoryWorkspace is my new favorite form to extend with a little download file from temporary storage button. Any that is my new favorite error testing friend. Used code from my old post https://t.co/YIMLEtRxml pic.twitter.com/WfHB2o7vtS
— Michael Stashwick (@D365Stuff) March 10, 2021
Even if you push a file that is completely incompatible with your integration, you can still download it and check it out. I think this is very important to building transparent integrations in D365, and with a workspace or PowerBI, you can now be proactive on failures instead of reactive. If you're in retail, and are integrating return or sales orders, you don't want to find out that an order was missed by the customer calling you, wondering what's going on. This framework allows you to see the lifecycle of all files and data, and proactively troubleshoot them if necessary.
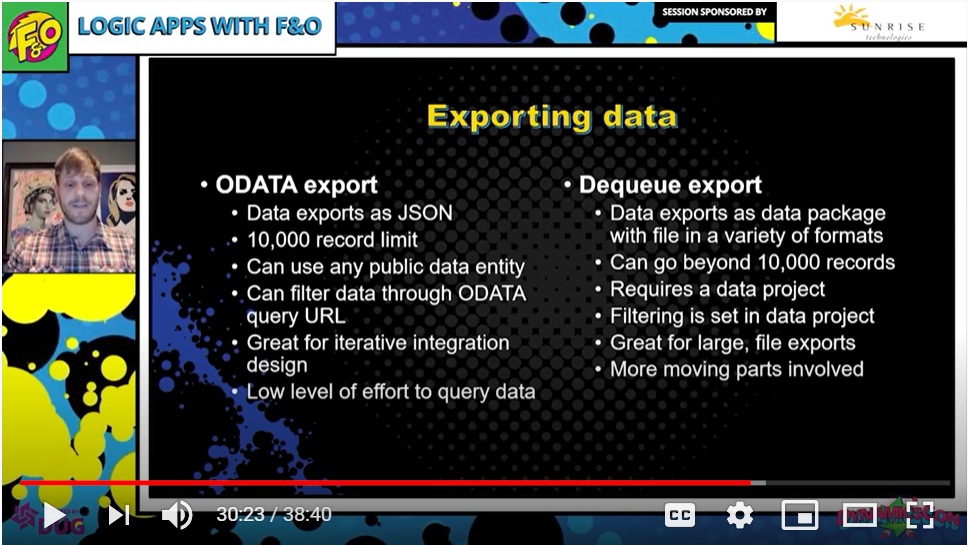
Pulling Data out of D365
Getting data out of D365 is a bit trickier than getting it in. The two main noninteractive approaches to use are ODATA are the Dequeue API. ODATA is easy to query, but has dataset limitations and there are usually some issues around transforming D365's native JSON output. The Dequeue API can handle much larger datasets, but has its own orchestration issues, and the output is a zip file, which can require additional development work to handle.
The other option is to leverage a BI solution for large integrated datasets. If you're already extracting table snapshots for reporting on the regular, why not reuse those snapshots for integrations?
ODATA
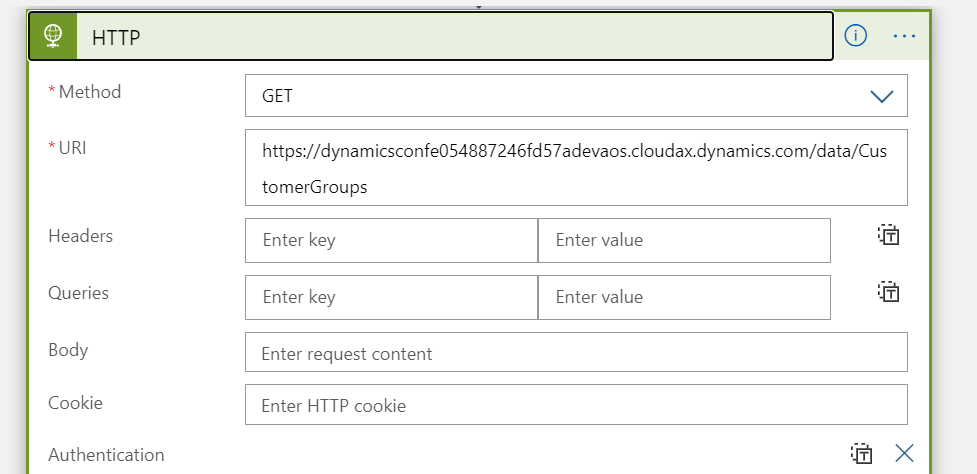
The nice thing about pulling data out of D365 via ODATA is that it requires a low level of effort. It's a simple HTTP GET with your environment URL plus /data/[PublicEntityName]. The entity name is case sensitive so always navigate to it in a web browser to make sure it's valid first.
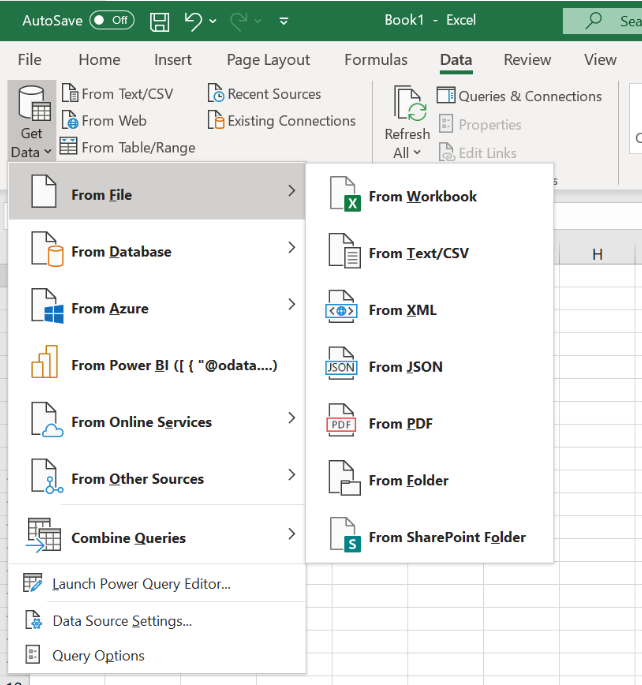
Excel and ODATA/JSON
If you're having a hard time interpreting JSON, you can bring it into Excel. If you have a JSON flat file you can import it into Excel From File:
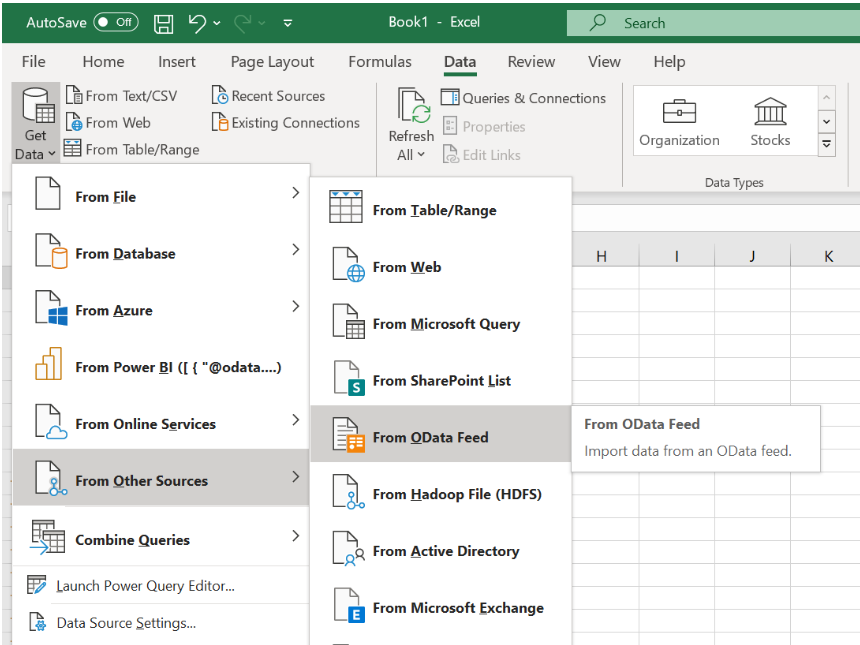
You can also connect directly to D365's ODATA endpoint:
Dequeue API
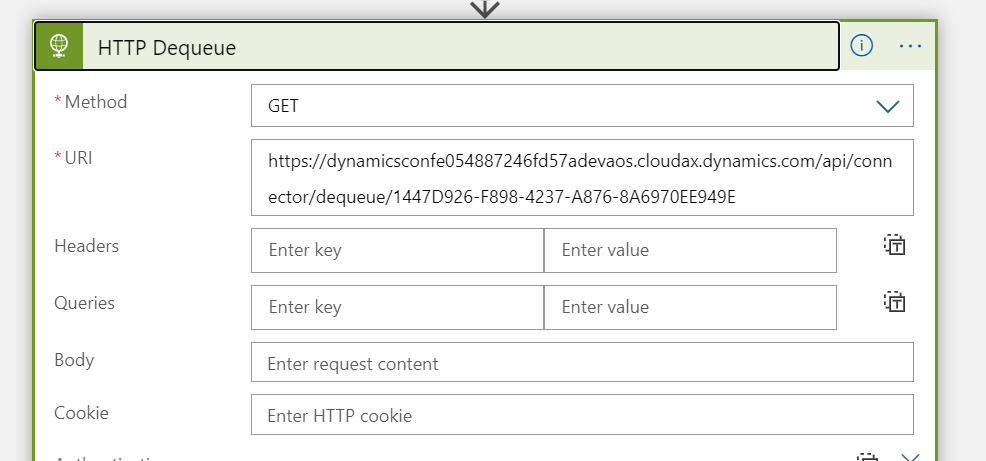
Step one, HTTP GET from your dequeue endpoint. There are no parameters to pass.
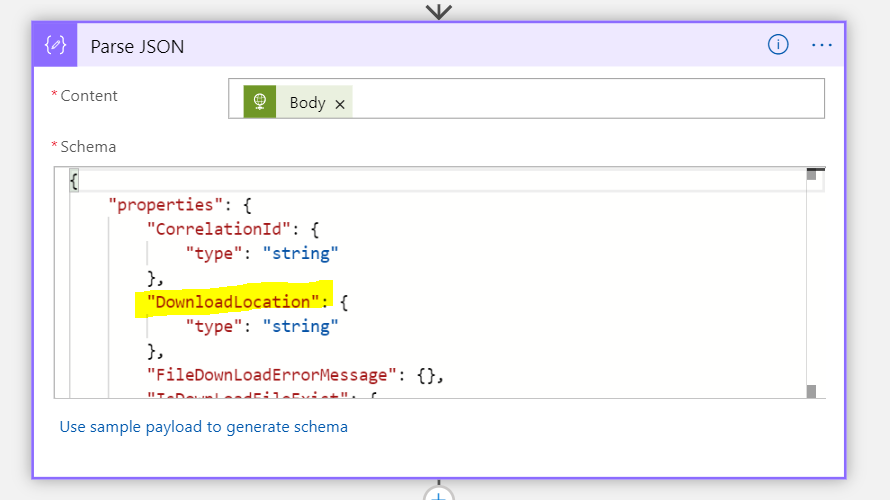
Step two, take the payload [body] to create a schema to parse all of the returned values. The DownloadLocation is the link to download the data package.
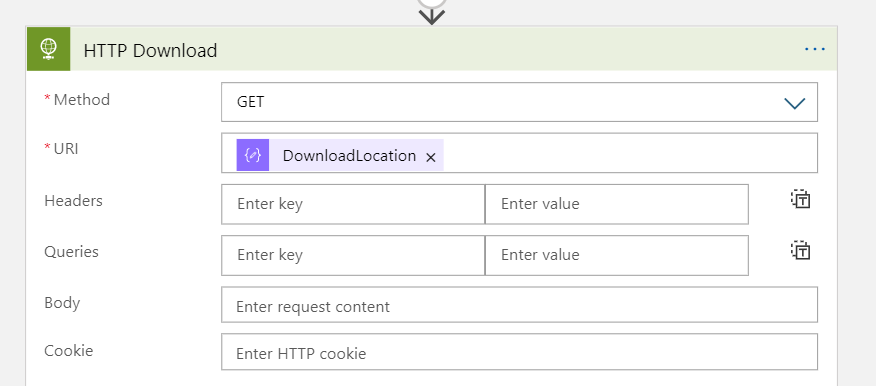
Step three, download it. This is a simple GET with the DownloadLocation, but you need your D365 OAuth credentials to authenticate:
Now you have a data package [zip] to have fun with. Lots of options from here.
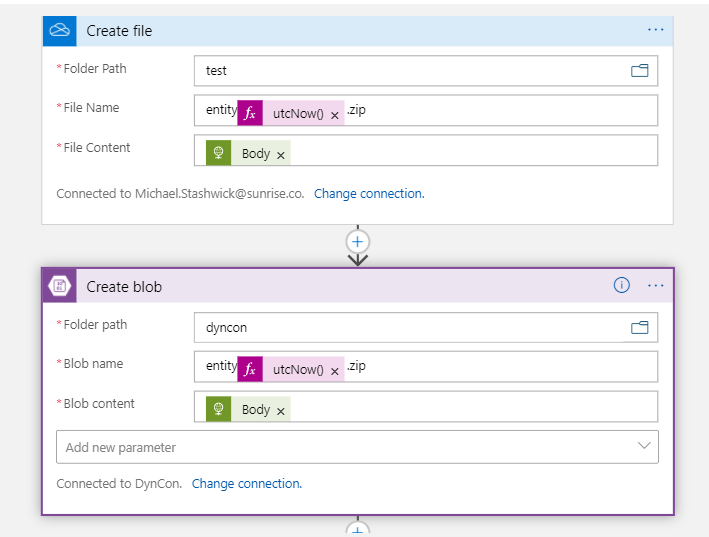
I used the Azure Blob Storage connector to unzip the data package (after the Create step from above). Timing issues aside, extracting/unzipping is the largest pain point with this approach since there aren't a lot of tools to do it, and I haven't seen a way to do it on the fly.
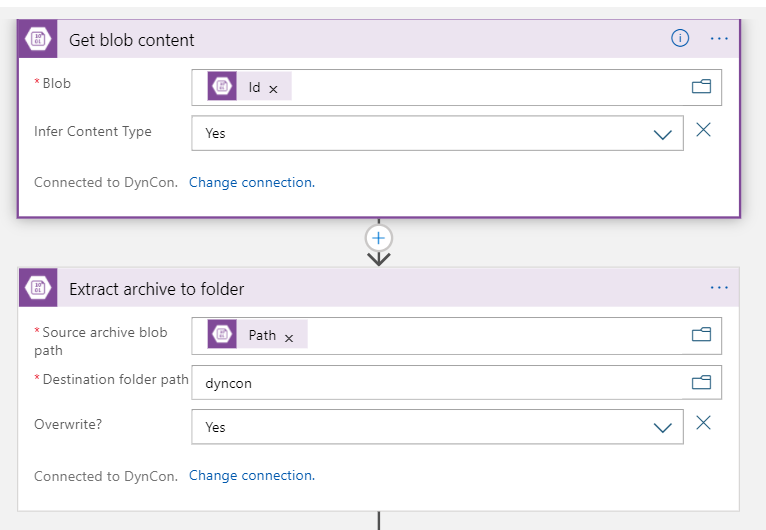
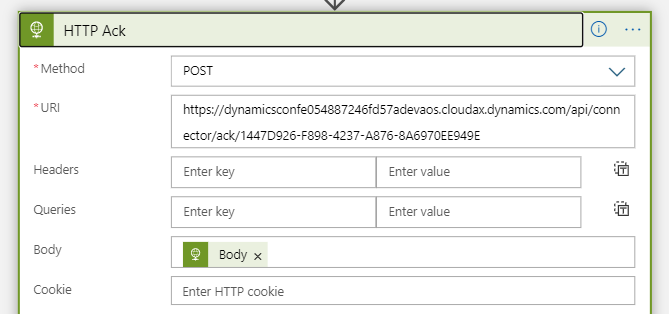
Final step, is to acknowledge that you have the file. This is how D365 knows you've successfully done what you intended, and will mark the file so you don't download it again when you call the API the next time. All you need to pass is the MessageId [GUID] in the body.
Pushing Data out of D365
This isn't just about pushing data out of D365, this is how to call a Logic App from D365. Any Logic App. One of the best use cases is to push a JSON message (hello FormJSONSerializer class), but it can kick off any Logic App.
First, make a Logic App that uses the trigger, 'When a HTTP request is received'. The URL from the trigger is what is used to make the call in D365:
class dynConCallLogicApp
{
    static void Main(Args args)
    {
        RetailCommonWebAPI webApi = RetailCommonWebAPI::construct();
        str requestURI = 'https://prod-24.eastus.logic.azure.com:443/workflows/whateverYourLogicAppEndpointIs';
        str json = '{"text":"DynamicsCon"}';

        webApi.makePostRequest(requestURI, json, '', 'application/json');
    }

}
Links for more info and documentation:
- D365 recurring integrations
- Limits and configuration information for Azure Logic Apps
- Handle errors and exceptions in Azure Logic Apps
- Handle throttling problems (429 - "Too many requests" errors) in Azure Logic Apps
- Send, receive, and batch process messages in Azure Logic Apps
- Monitor run status, review trigger history, and set up alerts for Azure Logic Apps
- Call a D365 web service (and more) from Logic Apps
